A few years ago I met with The Home Depot at a blogging conference and they had a campaign for a faucet. I jumped on it because I wanted to a change to the kitchen and sometimes even the smallest change gives our space a new feel. Shortly after I was looking at all workshops they offer for kids and the variety of workshops for adults. I love the DO IT HERSELF workshops because I personally have felt intimidated in DIY classes where it was primarily men and I also like that they recognize that there are women doing DIY projects. It's a great way to be encourage women to try DIY projects.
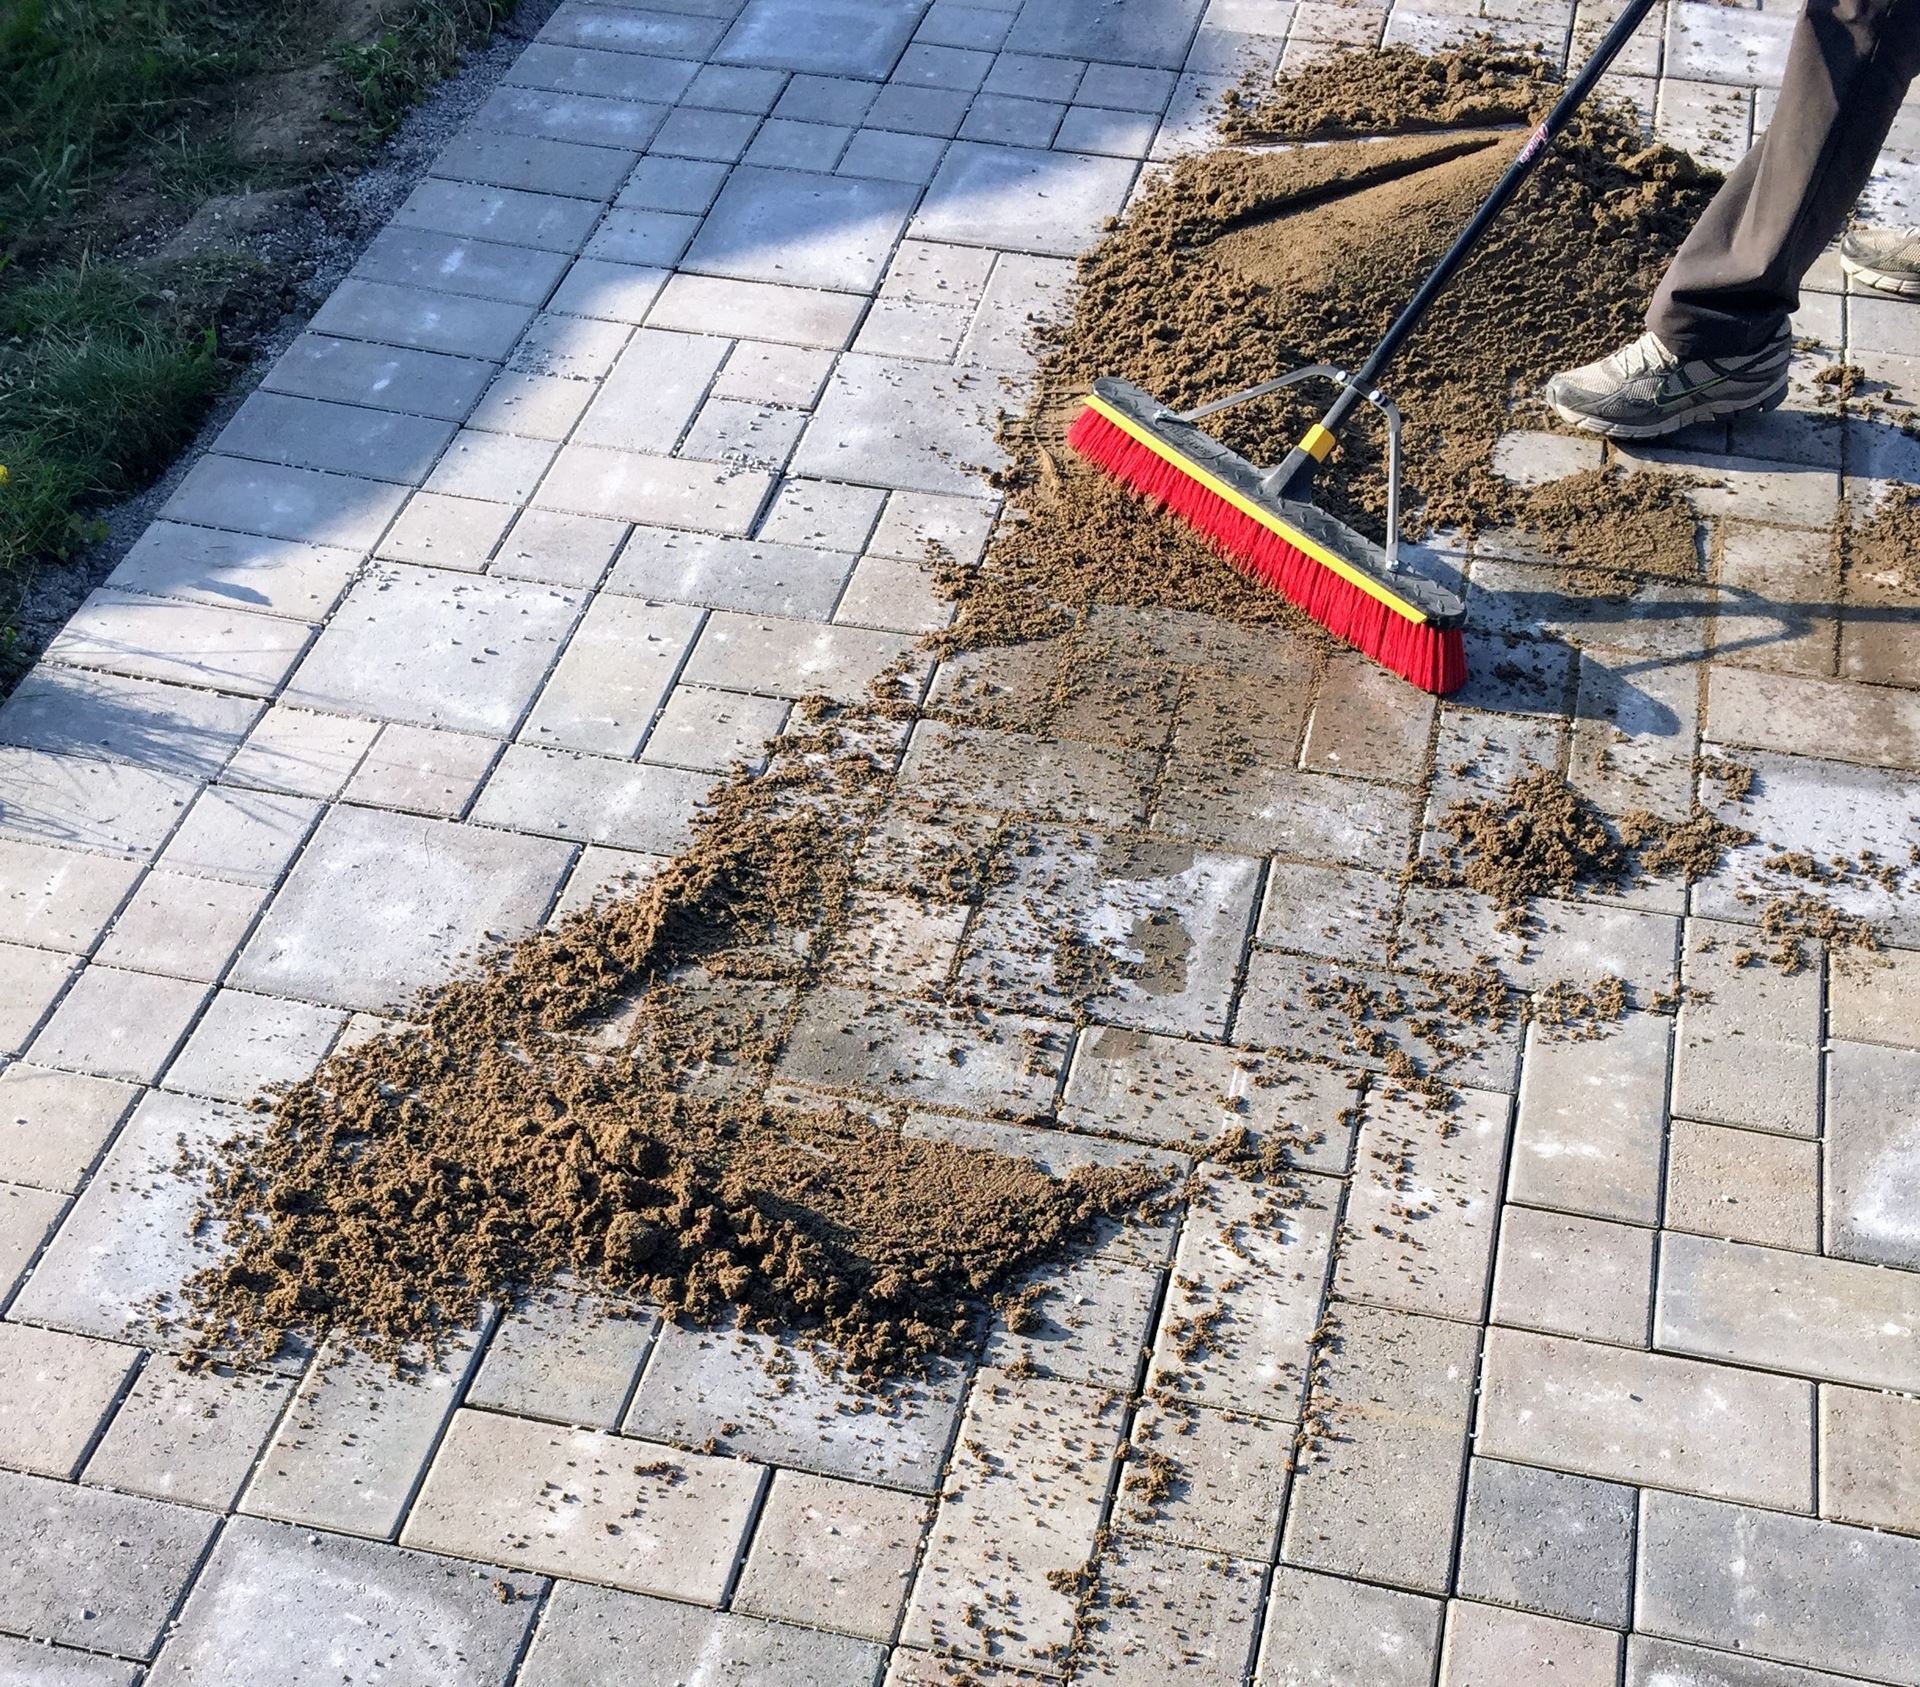
Naturally when we scammed and decided to do the interlocking in our driveway ourselves and it was back to home depot for rental equipment and majority of what we needed for the project.
Most people who’ve met me in real life knows I’m a minimalist, nothing comes into our come that we don’t need. Denys thinks this should include my shoes but I maintain that I need all those pairs.
In the spring I was travelling a lot for work and one day I walked into our home and saw a giant mess at the front of the house. The kids stuff was all over the ground and everything was beginning to pile up in the hallway. I was frustrated. I asked the kids why they didn’t put their things away and they said because they would need it again soon and they didn’t want to bring their things to the laundry room and back everyday. I realized the the system we had was unrealistic for busy times and was setting them up for failure.

That same week, I saw another opportunity with The Home Depot and I reached out about building something that would make it easier for the kids to manage and would be useful for the whole year.
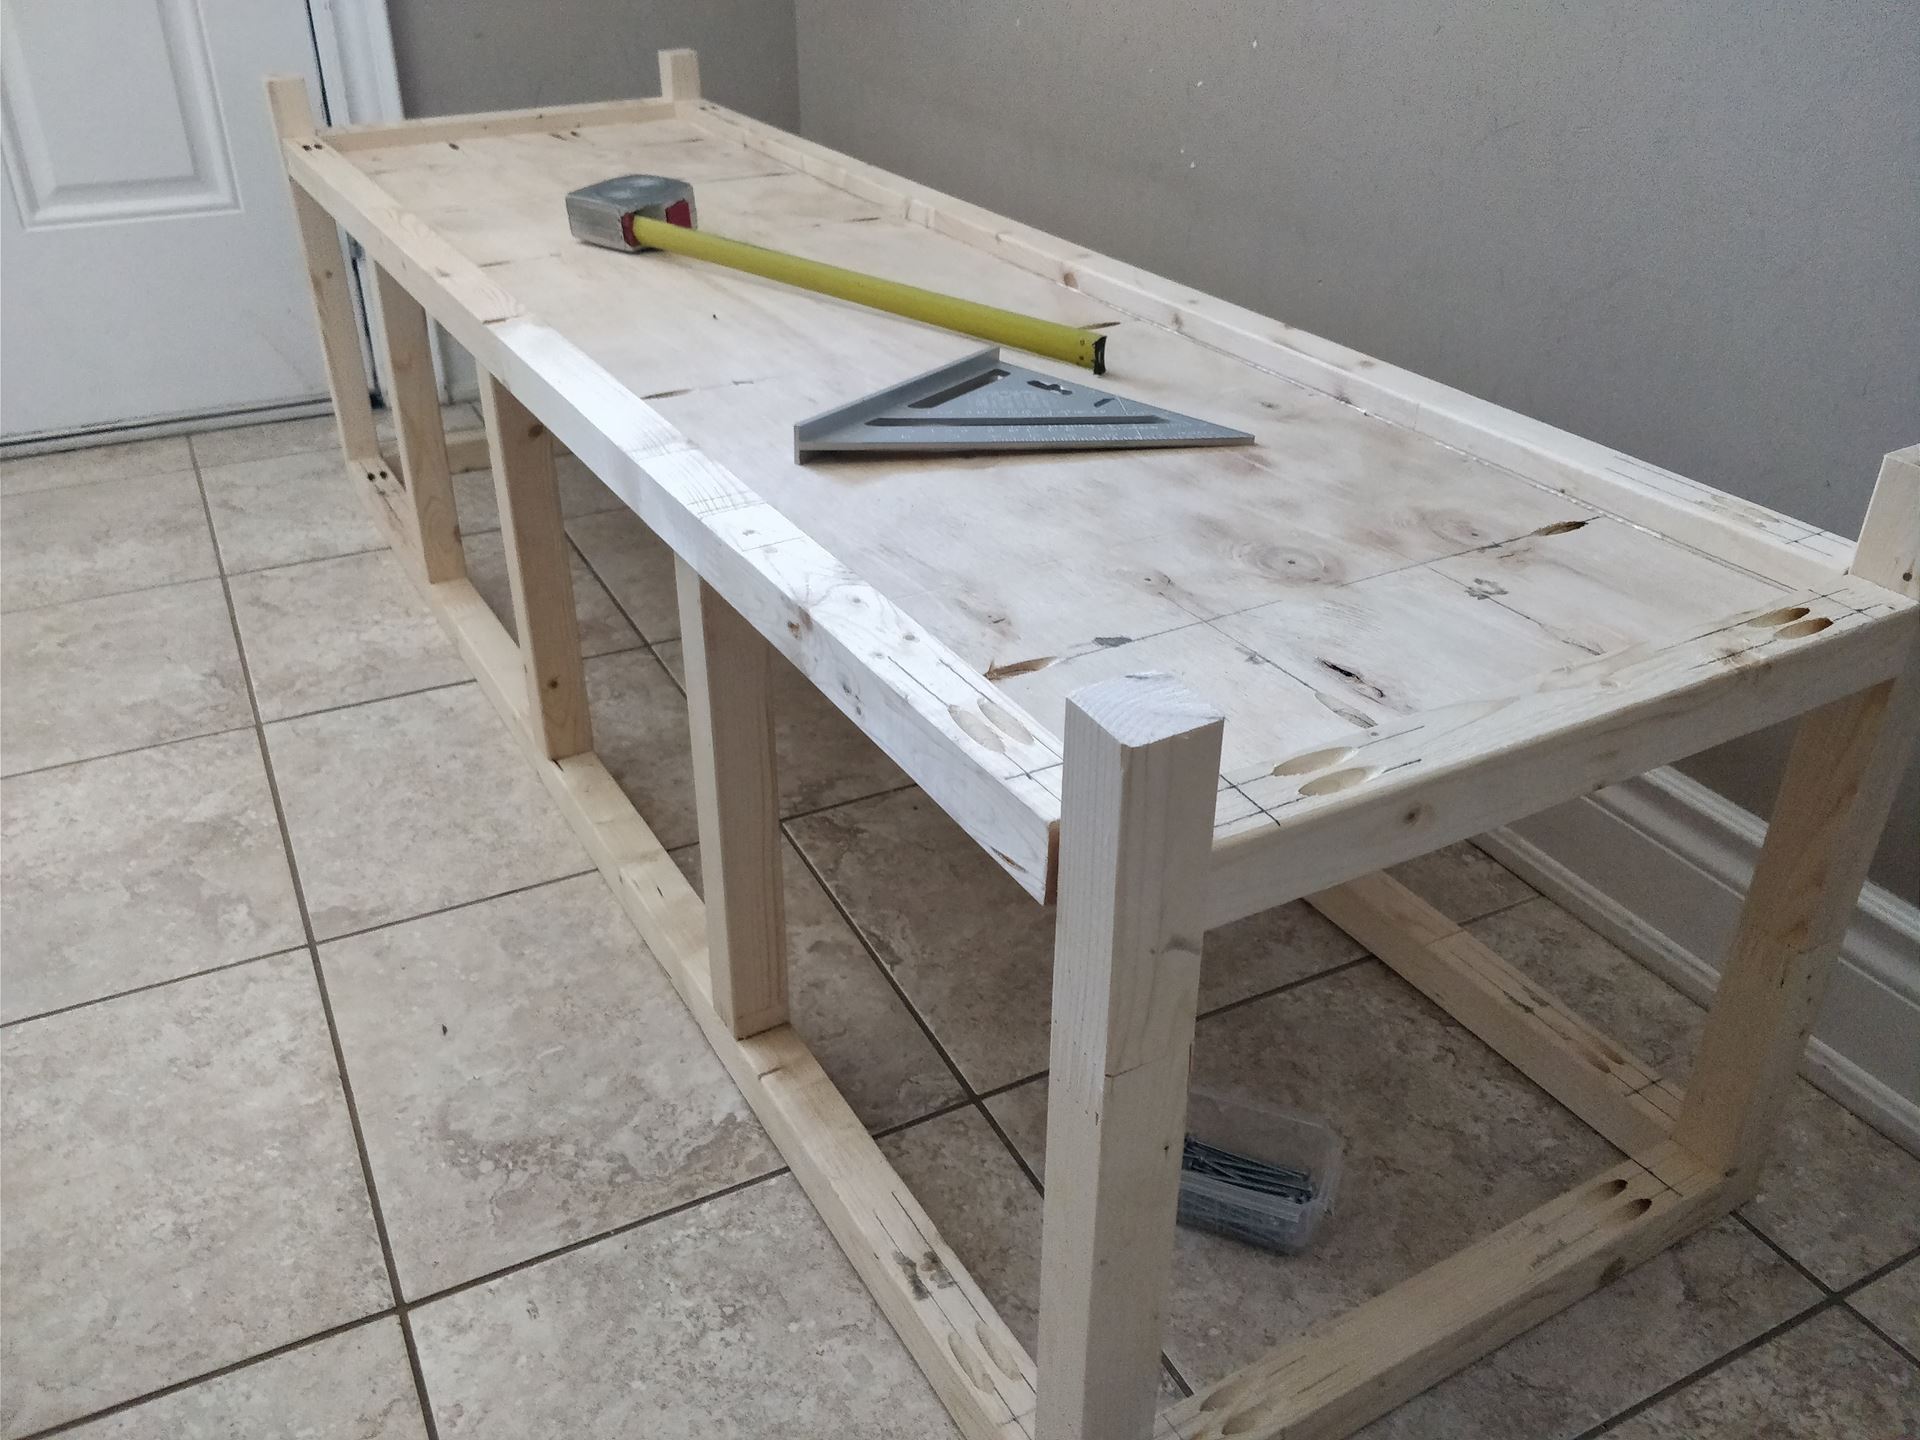
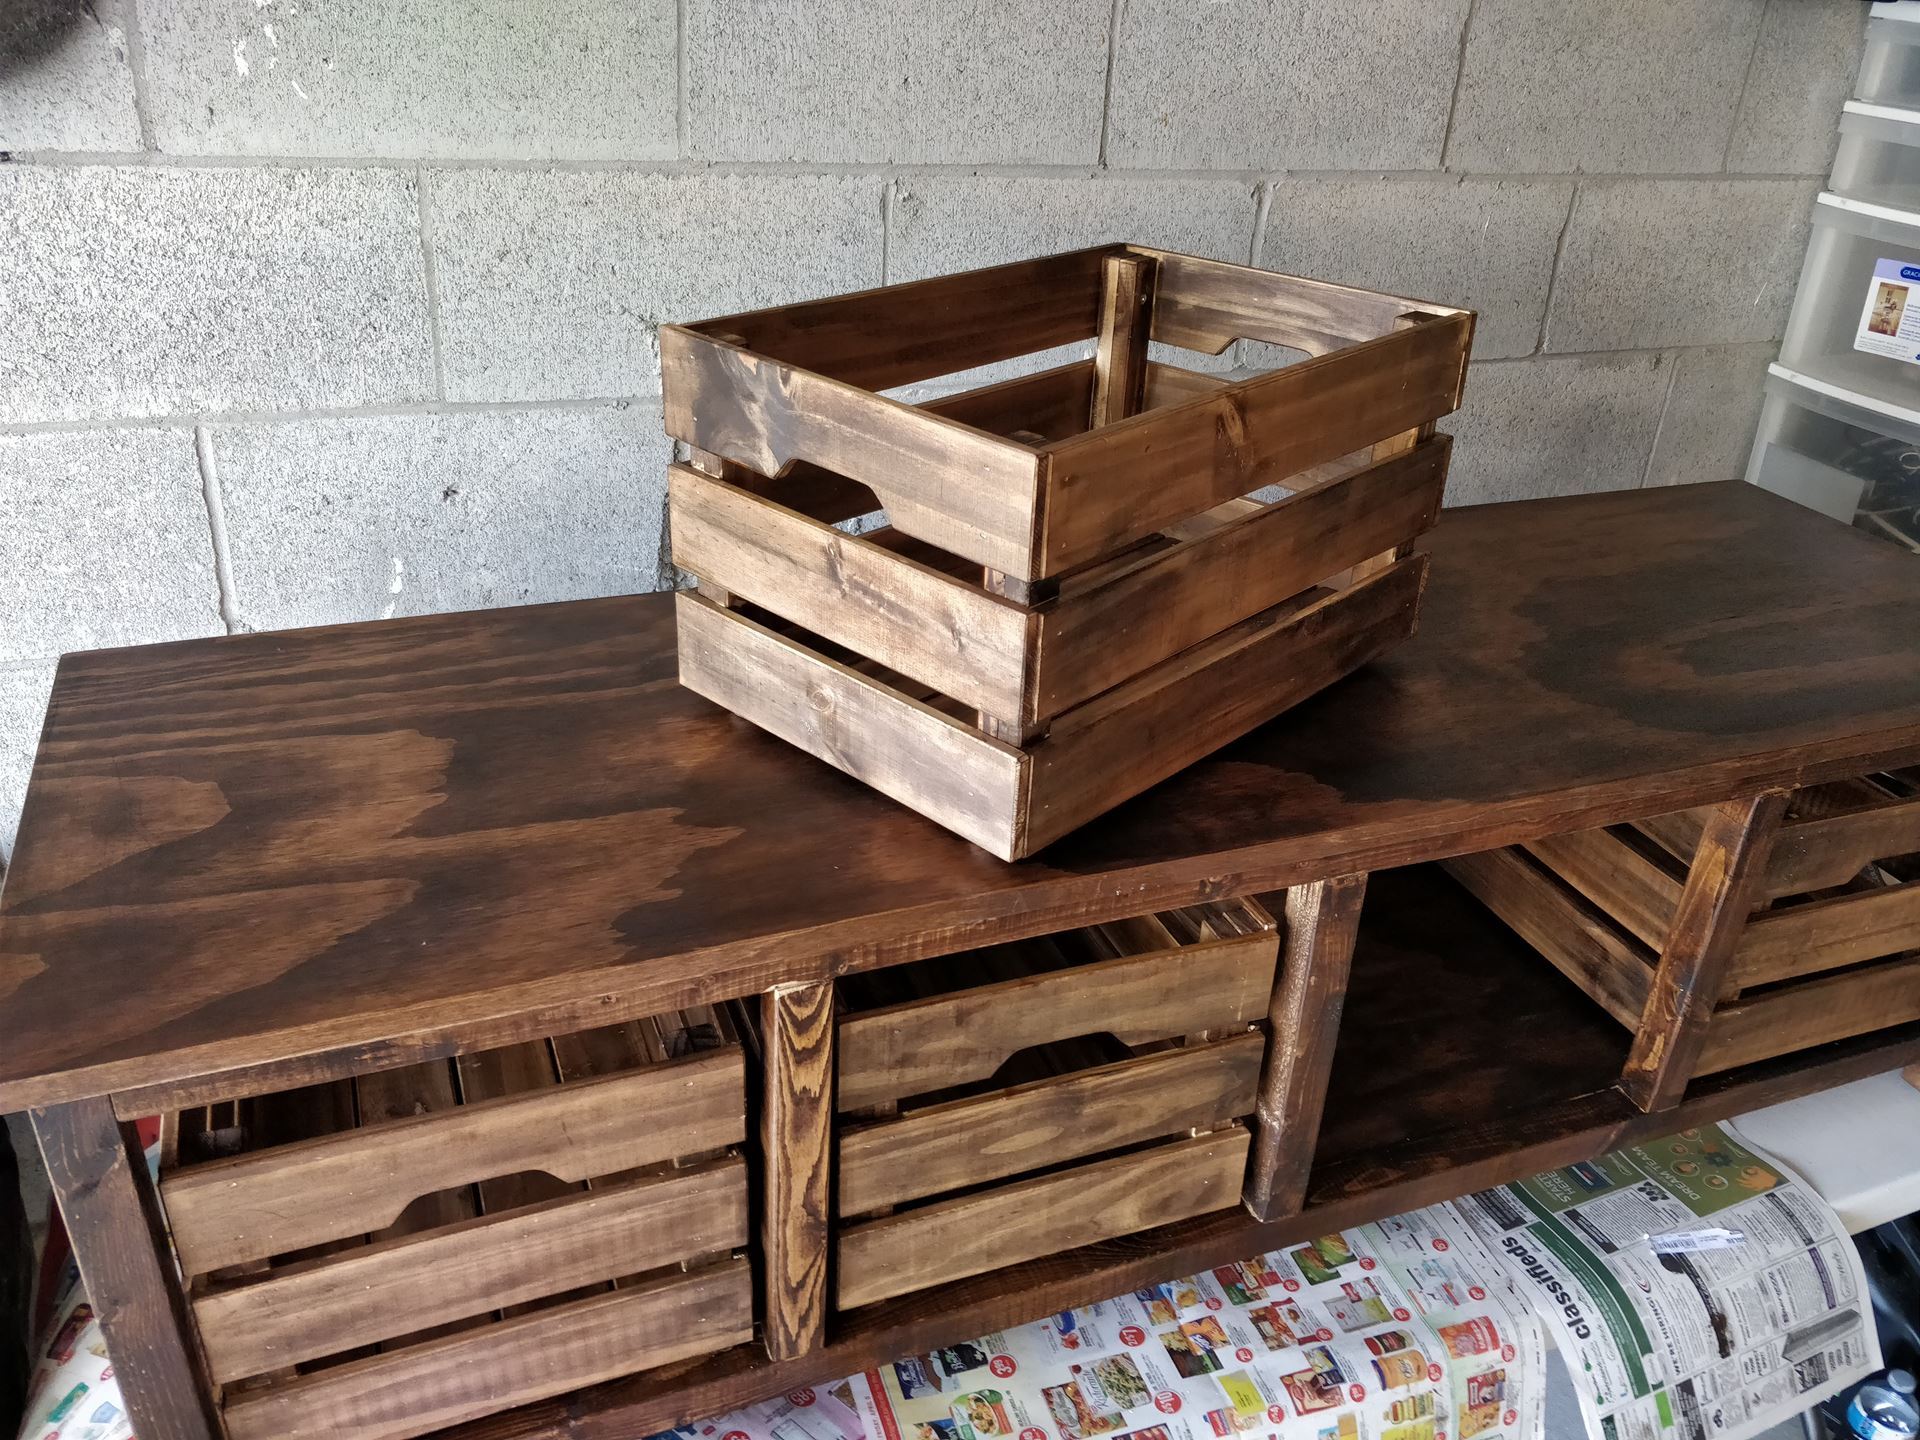
We built a bench with four storage units. Each of us have our own box which is big enough to fit the school bag and other things they might need on a regular basis.
.jpg)
I love that it adds perfectly to our space and we were able to stain it to match the floors. It’s easy for the kids to put their things away and I love that when I walk into the house it’s neat and tidy.
Below is a summary of the steps and the materials you'll need.
Material list

Steps to do it yourself
Cut the board and wood to your measurment
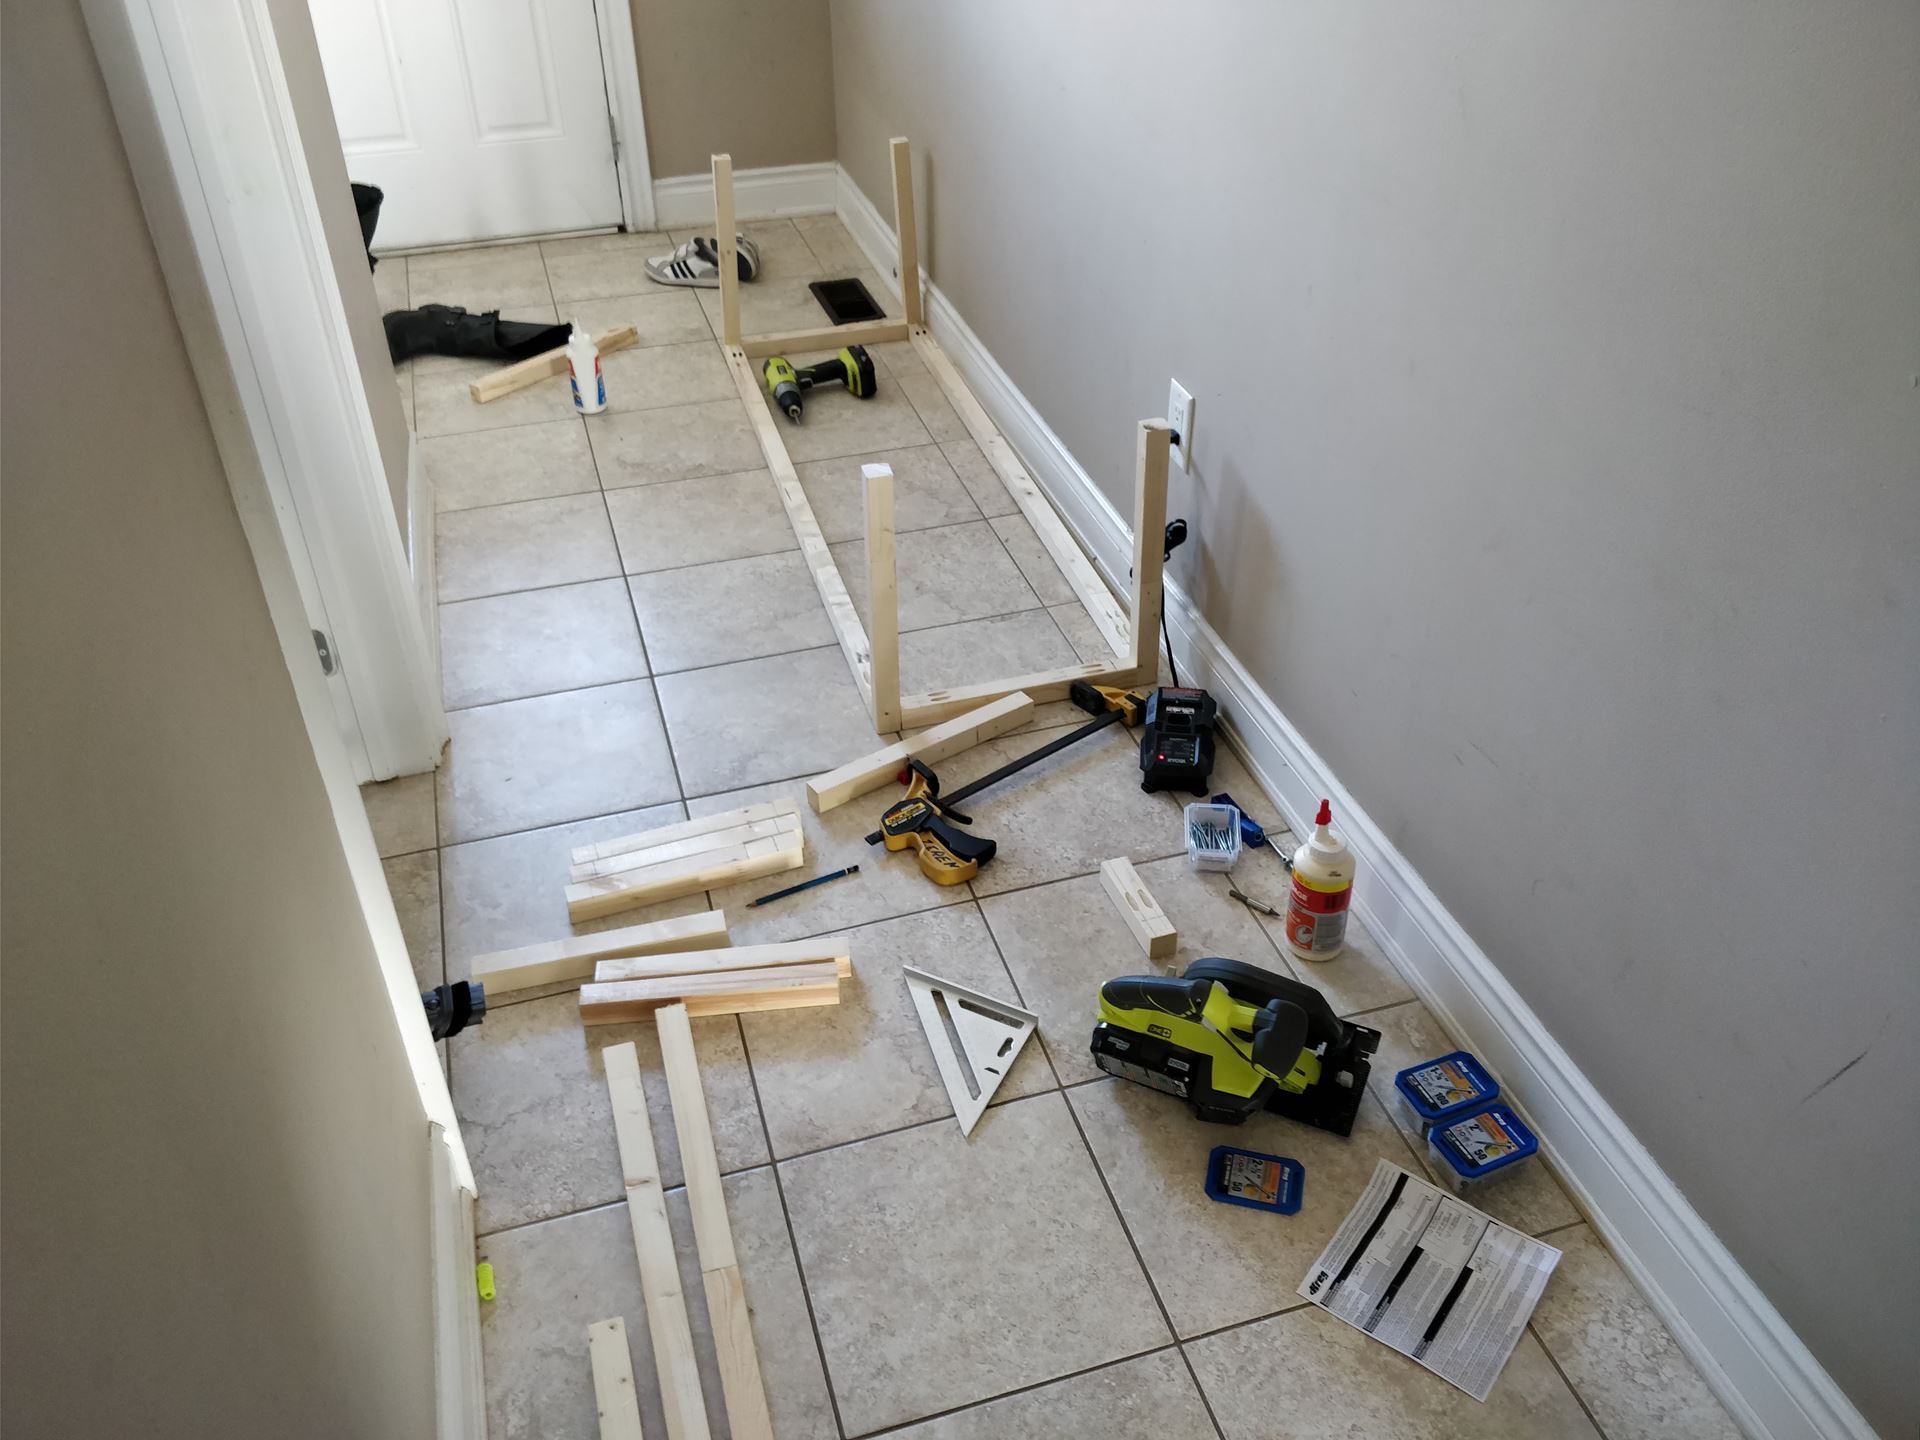
Use Jig kit to drill holes

Connect the boards to form a frame

Attached Top and Bottom shelves
Finish edges
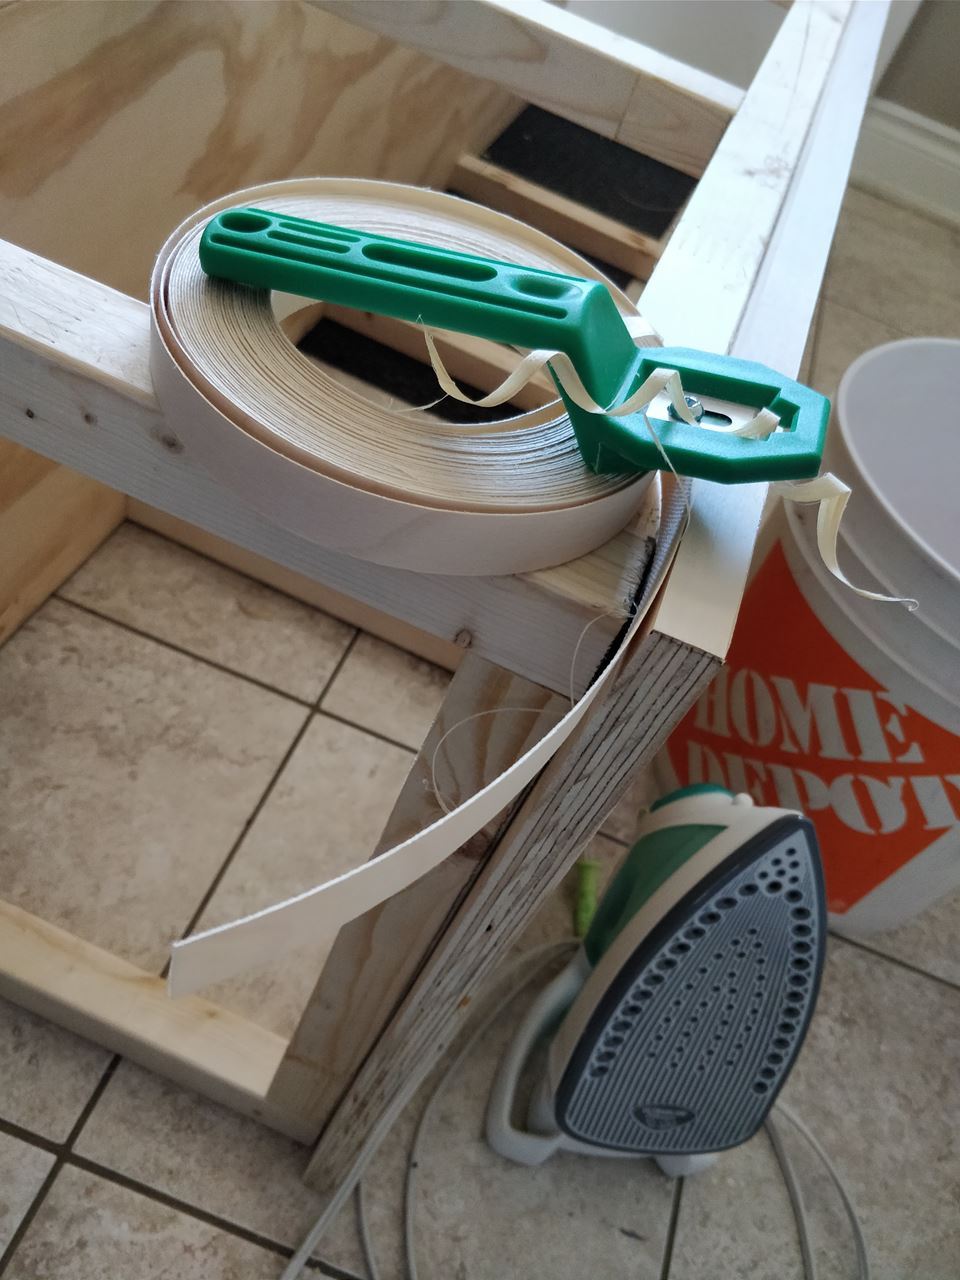
Sand
Apply wood conditioner to make staining even
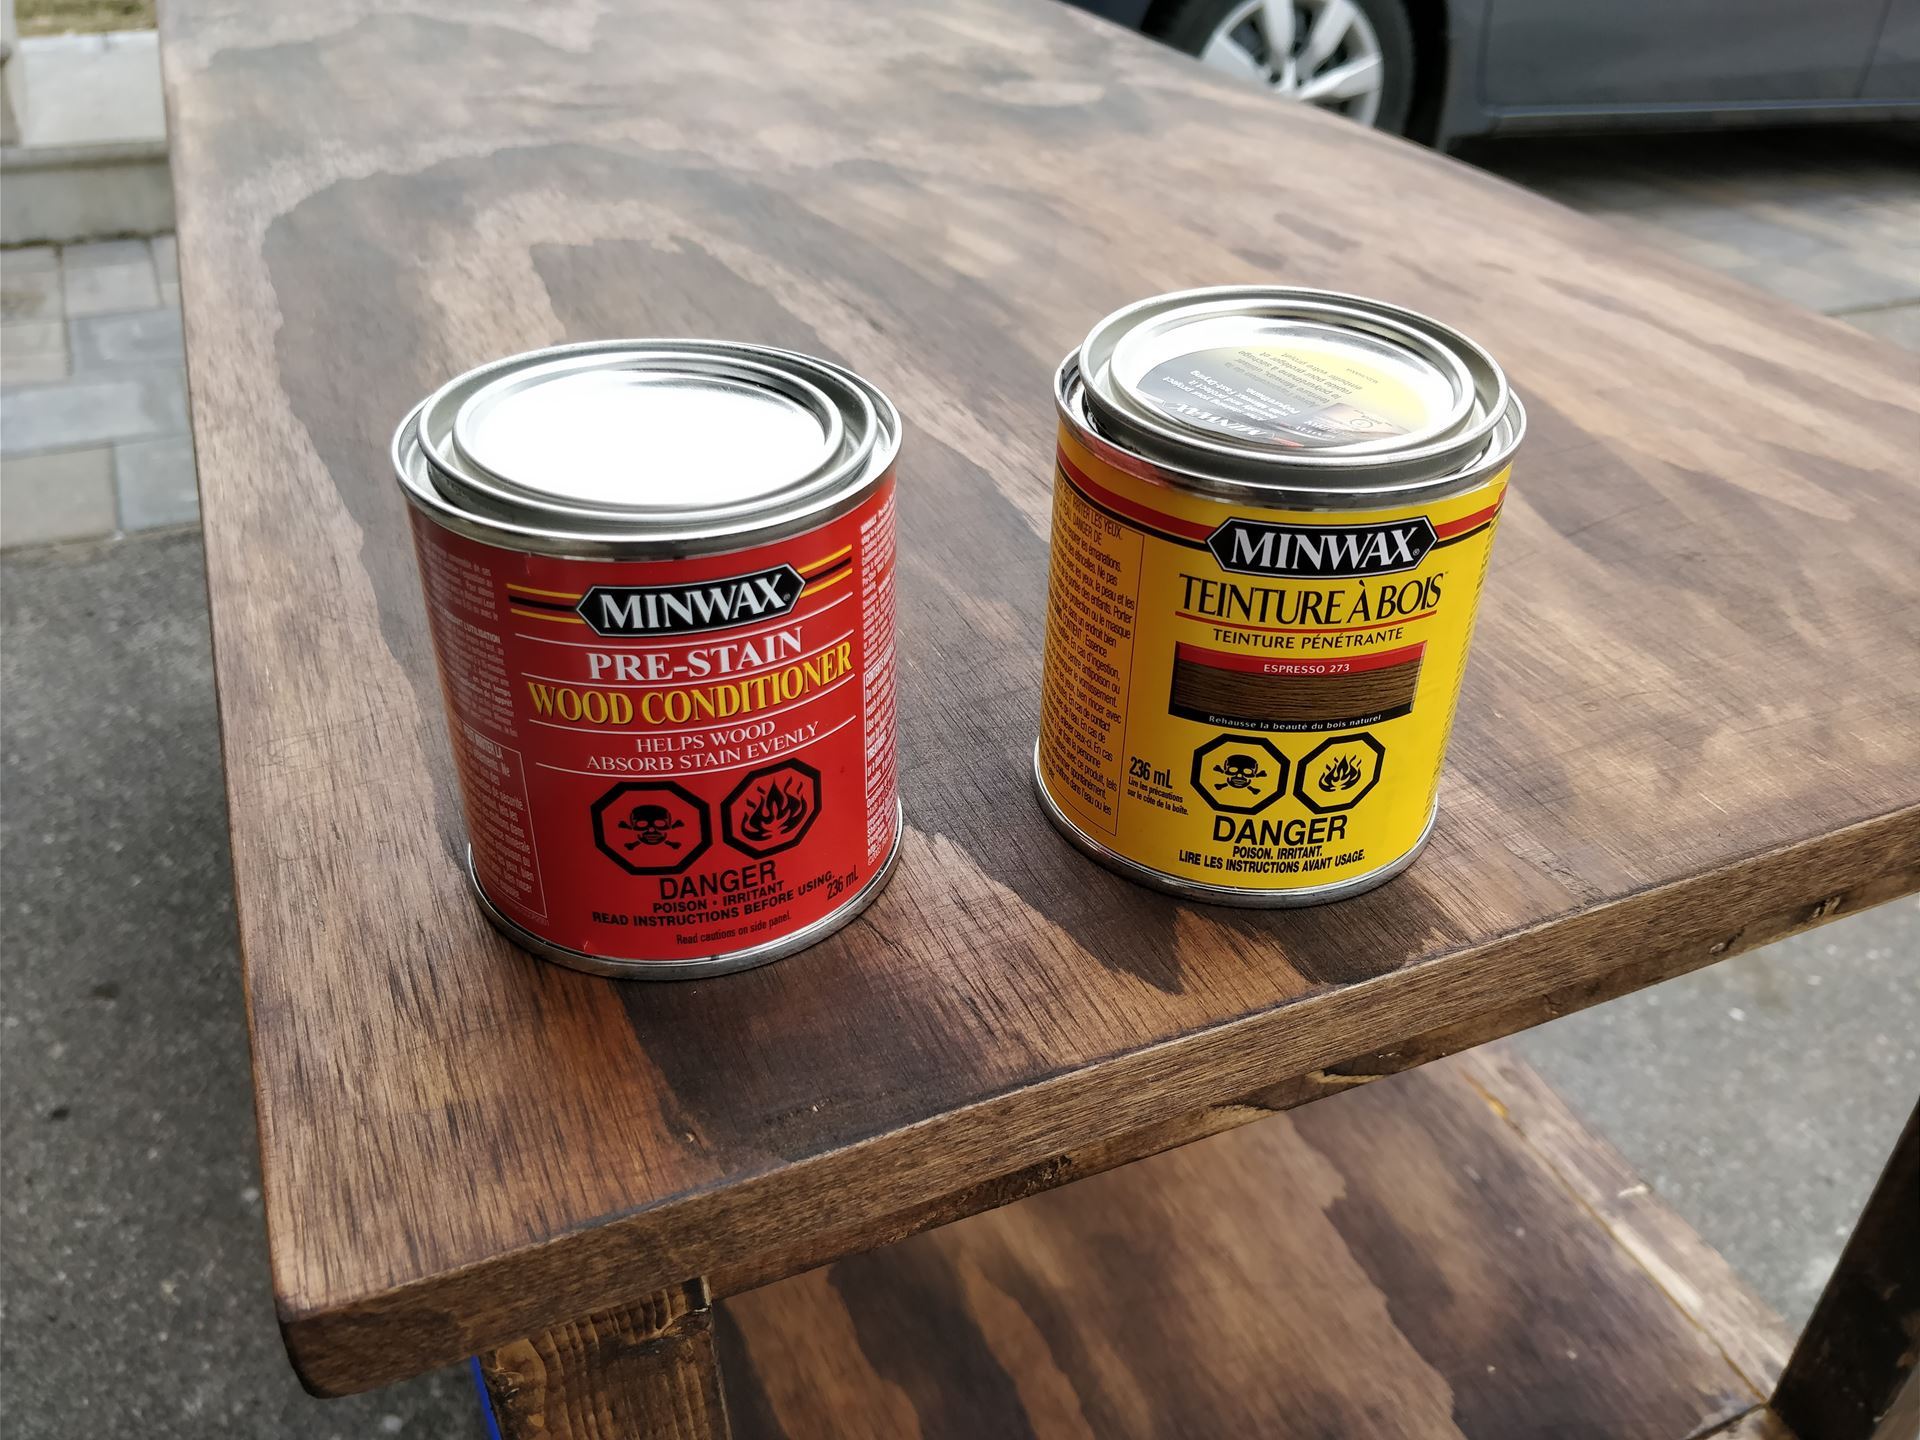
Apply wood stain 2-3 coats
Apply wood lacquer to finish 2-3 coats,
Here is a looks again at our before :(
And After!
And we've already started o the next project! I’ve decided to create a simple storage unit for kids hats and mittens and their stuff. But first, hubby refused to paint until our youngest was 6. He is now 7 and that means the next order of business is painting our walls. I cannot wait to get a fresh look on our space.


.png)